
Flip Chip Soldering Process
Flip Chip Soldering Process – Chip Soldering – Sonic4lab
Flip chip packaging, as an advanced semiconductor packaging technology, involves placing the chip with its bump side down and directly connecting it to the substrate pads. Compared to traditional wire bonding, this significantly improves signal transmission speed and heat dissipation efficiency, making it widely used in various precision electronic devices. Soldering, as a key method in manual packaging and repair, has become an important way to achieve small-batch production and fault repair of flip chips due to its flexibility and moderate cost. The precision of the soldering directly determines the soldering quality and lifespan of the chip.
The core challenge of soldering flip chips with a soldering iron is precisely controlling the temperature and pressure. Because the bumps on flip chips are small and densely spaced, and the chips themselves have limited heat resistance, even slight carelessness can lead to bump oxidation, pad detachment, or chip damage. Preparation before soldering is crucial. The chip and substrate must be cleaned first, wiping with alcohol to remove surface oil and oxide layers to avoid affecting the wettability of the solder. Simultaneously, a soldering iron with appropriate wattage must be selected based on the chip specifications. Generally, a 20W-40W internal heating soldering iron is most suitable. Excessive wattage can damage the chip, while insufficient wattage will prevent the solder from fully melting.
Temperature control is crucial during soldering. The soldering iron temperature should be adjusted to 280℃-320℃, specifically based on the solder wire’s melting point. A trial soldering test can be performed on a scrap substrate to confirm the solder’s molten state before proceeding with the actual soldering operation. When soldering, first dip the soldering iron tip into a small amount of flux and evenly apply it to the substrate pads. The flux removes the oxide layer, enhances solder adhesion, and reduces the risk of cold solder joints. Then, use tweezers to precisely pick up the flip chip, aligning the bumps with the pads one by one, and gently press to secure it, preventing misalignment.
Next, perform precise soldering. Touch the contact point between the pad and bump with the soldering iron tip at a 30° angle, hold for 1-2 seconds, allowing the solder to fully melt and fill the gaps, then quickly remove the soldering iron to avoid prolonged heating. When soldering, the principle of “point-by-point soldering and symmetrical operation” must be followed. First, fix the bumps diagonally opposite the chip, then solder the other bumps in sequence, ensuring full solder coverage, no bridging, and no cold solder joints. After soldering, allow the chip to cool naturally for 1-2 minutes until the solder is completely solidified. Inspect the soldering quality with a magnifying glass. If cold solder joints or bridging are found, repair them with a soldering iron or remove excess solder with desolder.
In practice, pay attention to electrostatic discharge protection. Wear an anti-static wrist strap to prevent ESD damage to the chip’s internal circuitry. The amount of flux used must be moderate; too much flux can leave impurities, while too little will not provide adequate flux. Furthermore, the soldering iron tip must be kept shiny and free of oxidation. If oxidation occurs, it can be sanded and then tinned to ensure good thermal conductivity.
Compared to reflow soldering in mass production, soldering flip chips with a soldering iron is more suitable for small-batch production and repair scenarios. Although it requires higher operational skills, standardized procedures, precise temperature control, and skilled operation can effectively ensure soldering quality. With the increasing application of flip chips, mastering soldering skills is of great significance for improving the packaging efficiency and maintenance level of electronic devices, and also provides flexible and convenient technical support for precision electronic manufacturing.
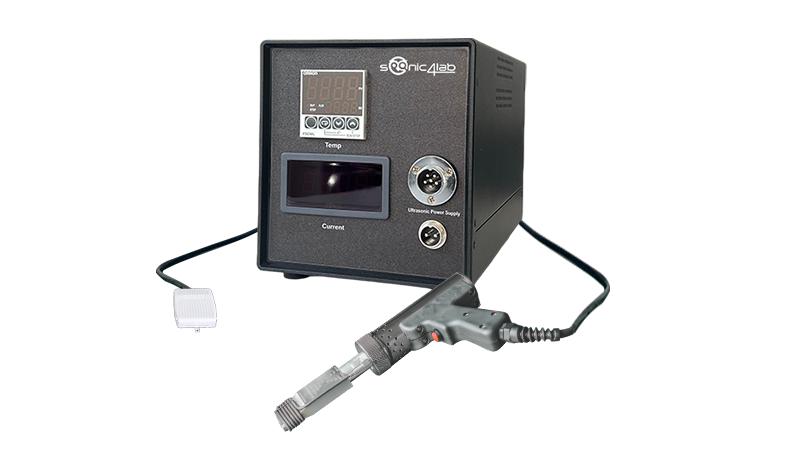
If you want to purchase equipment, please click here.
